|
Tech
Tips #2
|
|
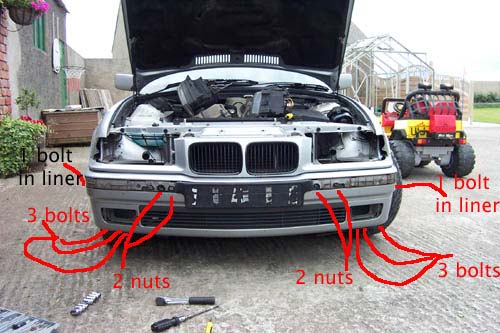
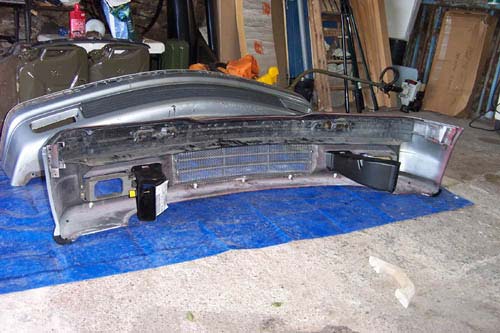
Fitting an M-Tech front bumper and M3 splitter Please note that you DO NOT have to remove the headlamps for this! I had intended fo fit an new ECP nose panel, which turned out NOT to fit properly. Ok, remove the bump trims and undo the four nuts in front and remove the 8 bolts holding the bumper to the wheelarch liners and under tray. Remove the fog lights.
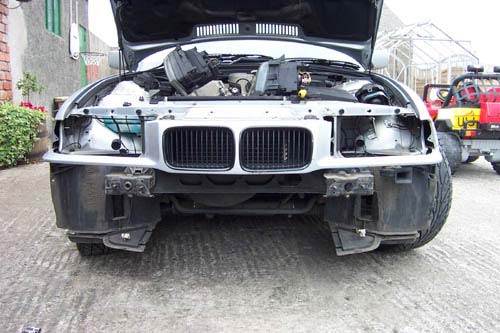
remove the bumper...
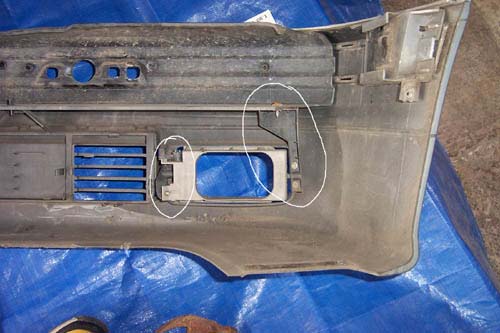
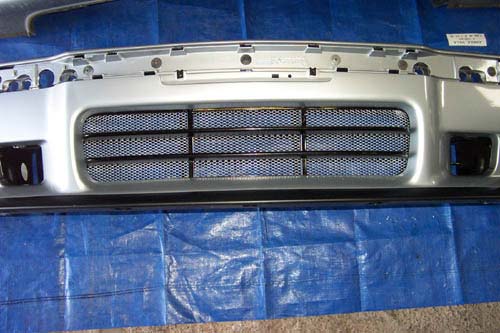
remove the metal carrier from the bumper cover. There are about 8 plastic rivets holding it on, use a fine flat blade screwdriver and a hammer to drive the centre in out and you can reuse them.
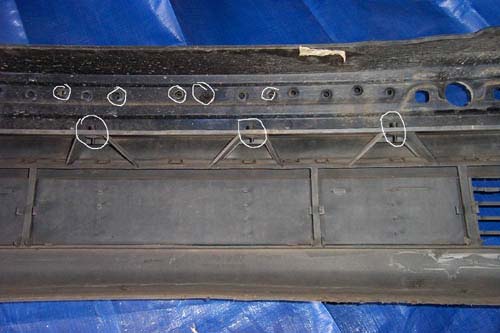
remove the support post and foglight housing. The support post is not correct for the M-Tech bumper, but the metal carrier can be offered up and drilled to fit.
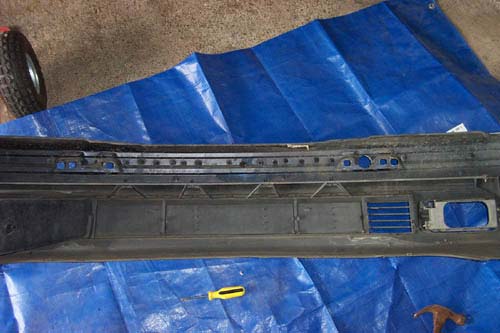
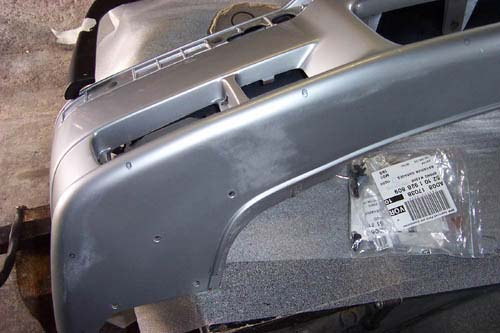
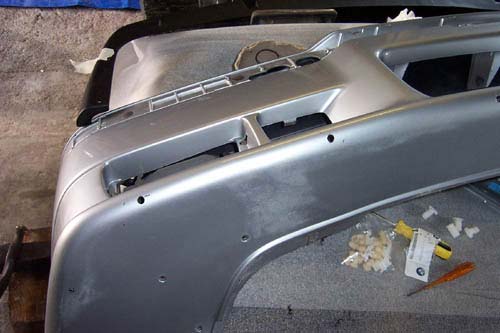
Once you have the carrier off, offer it up to the new bumper cover and carefully trial fit all the rivets and brackets. mark the drilling points for the support bracket and remove the carrier to drill it, then reassemble. Splitter If you are fitting the M3 splitter, offer it up and mark the holes to be drilled. If you want to be quick, you can pilot the holes with a small drill and just screw it on. I chose to use the BMW mounting method, which is hard work....
Pilot and drill out the holes to 10mm to accept the plugs, set the plug in and mark it, then file out the curved bit.
Insert the plug and twist it into position.
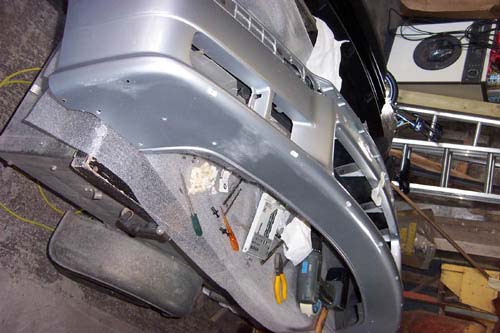
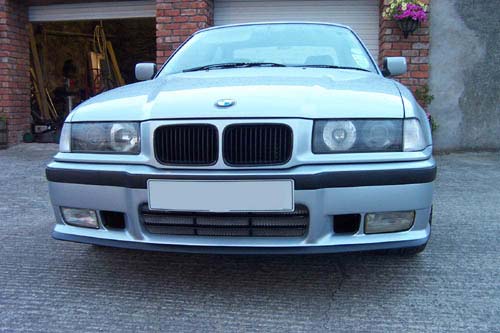
Home straight Bolt up the splitter, fit the slat grille or M3 mesh, whichever you are using. I had the slat grille and put a bit of ally mesh behind it to protect the radiator from stones and.... it also looks quite good.
Fit the M brake ducts, they are different to the non-M version
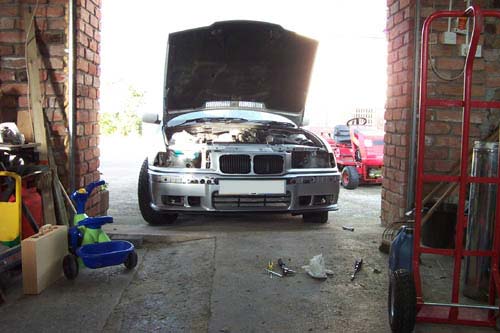
Put it all on the car, tighten all the nuts and bolts, the put the bumper strips and foglights on (headlights in too!!) and...
There you have it!
|
|
|